
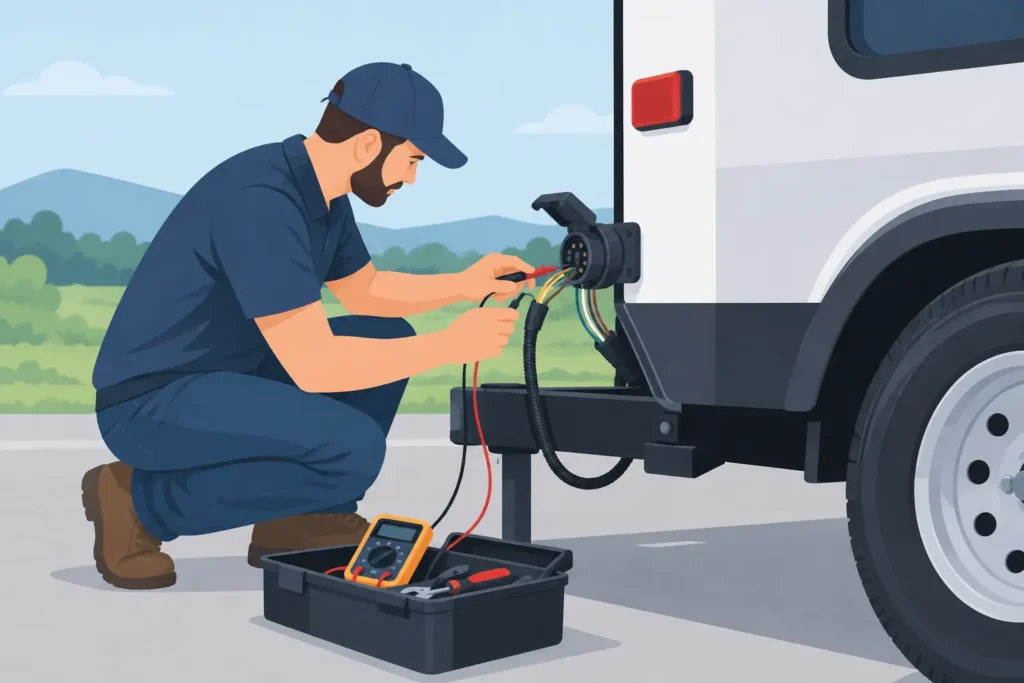
A trailer can look road-ready at the start of a shift and still leave a truck parked over one dead marker light, a failed brake circuit, or an intermittent connection at the plug. Knowing how to troubleshoot trailer electrical faults gives fleet operators a faster way to separate a minor wiring repair from a safety-critical problem that needs immediate shop attention. The goal is not simply to get a light working. It is to put a safe, reliable trailer back into service without sending a recurring fault down the road.
Start With the Symptom and a Safe Setup
Electrical diagnosis goes faster when the reported symptom is specific. “No lights” calls for a different process than “right turn signal flashes fast” or “trailer brakes work only sometimes.” Ask the driver when the issue occurs, whether it started after rain, a hookup change, loading work, or a recent repair, and whether it affects one circuit or several.
Park on level ground, chock the wheels, and secure the trailer before beginning. Switch off power before opening junction boxes, repairing wiring, or removing lamps. A loaded trailer, damaged wiring near moving components, and live circuits are a poor combination. If the trailer has an electric brake system, do not assume a dashboard warning can be ignored just because the trailer can still be moved around the yard.
A basic diagnostic kit should include a digital multimeter, test light, circuit tester, jumper leads, wire brush, dielectric grease, heat-shrink terminals, proper crimping tools, and spare fuses. A wiring diagram for the trailer and tow vehicle saves time, particularly on commercial trailers with added work lights, liftgates, auxiliary charging circuits, or nonstandard wiring added over years of service.
Check the Tow Vehicle Before the Trailer
The trailer is often blamed first, but the source fault may be on the truck. Inspect the truck-side connector for broken terminals, corrosion, pushed-back pins, loose mounting, moisture, or wiring strain. A connector that moves freely in its bracket can create intermittent faults on rough roads even when the pins look clean.
Use a meter or circuit tester to confirm each output at the truck connector: running lights, left turn, right turn, brake lights, reverse circuit where fitted, auxiliary power, and brake controller output. Check voltage with the relevant switch or pedal activated. If there is no output at the truck connector, move upstream to fuses, relays, body-control wiring, brake controller settings, and truck grounds.
Do not rely on a quick visual check alone. A pin can show voltage without delivering enough current under load. This is especially common where corrosion has built up inside a connector or where a wire has partially broken near the back of the plug. A loaded test using a suitable test light can expose weak connections that a meter may not reveal.
Inspect the Plug, Socket, and Main Ground
Once truck-side outputs are confirmed, connect the trailer and inspect the connection at both ends. The plug should seat fully and lock in place. Bent pins, green corrosion, cracked housings, missing terminal seals, and loose cable strain relief are all common causes of repeat electrical problems.
The ground circuit deserves early attention because one poor ground can create several misleading symptoms. Dim lights, lights that flash when another circuit is activated, multiple lamps glowing at once, and brakes that work inconsistently can all point to excessive resistance in the ground path.
Follow the main ground wire from the trailer plug to its frame connection. Remove rust, paint, dirt, or corrosion from the mounting area and make sure the fastener is tight. Check for broken strands beneath the insulation near the terminal. On older equipment, it may be worth adding or renewing dedicated ground wires to lamp assemblies rather than depending entirely on frame grounding. That takes more time up front, but it can prevent repeat service calls in wet, salty, or high-vibration conditions.
How to Troubleshoot Trailer Electrical Faults by Circuit
After confirming power and ground at the connector, isolate the failing circuit instead of replacing parts at random. Start at the junction box or the closest accessible point after the trailer plug. Check for power entering the circuit, then work toward the affected lamp, brake, or accessory. The point where voltage disappears usually identifies the damaged section.
Lighting and signal faults
For a single failed light, inspect the bulb or LED assembly, connector, local ground, and wiring pigtail. Water intrusion inside a lamp can corrode terminals and short circuits, even if the lens is intact. LED lights use less current than older incandescent lamps, but they are not immune to poor grounds, pinched wires, or failed internal electronics.
For several lights out on one side, look for a damaged feed wire, corroded junction-box terminal, faulty splice, or a connection issue at the front plug. Wiring routed along frame rails is exposed to road debris, vibration, ice, and abrasion. Pay close attention near crossmembers, suspension components, ramps, hinges, and areas where harnesses pass through metal.
A blown fuse points to a short circuit, not merely a bad light. Replace the fuse only after inspecting the harness for crushed insulation, exposed copper, or water-filled lamps. Installing a larger fuse to keep the circuit alive can overheat wiring and create a serious fire risk.
Electric brake faults
Brake circuit problems should be treated as a safety issue. If the brake controller shows an overload, open circuit, or intermittent trailer connection, inspect the truck connector, breakaway switch, junction box, brake wiring, and magnet leads. Look for damaged wire where it crosses axles or enters backing plates, since those areas see constant movement and contamination.
Measure resistance and current according to the brake manufacturer’s specifications. A brake magnet may appear connected but still draw the wrong current because of internal damage or corroded wiring. Check each axle, not just the first accessible brake. One failed component can affect controller readings and reduce braking performance across the trailer.
The breakaway battery also needs attention. Verify that it is charged, secured, and capable of applying the brakes when the pin is pulled. Never test the breakaway system while the trailer is moving, and replace damaged switch cables or housings promptly.
Intermittent faults and water-related issues
Intermittent faults consume time because the circuit may work in the shop and fail on the road. Flex the harness gently while watching a test light or meter, especially near plugs, splices, junction boxes, and areas with visible rubbing. If the fault appears after rain or washing, open connectors and lamps to check for moisture.
Temporary tape repairs and twist-on connectors rarely survive commercial hauling conditions. Use correctly sized wire, sealed heat-shrink butt connectors, protected loom, and secure clamps. Leave enough slack for suspension travel but not enough for the harness to rub, sag, or catch debris.
Know When a Repair Should Stop and a Technician Should Take Over
Basic inspection can solve a loose plug, corroded ground, or damaged lamp. Stop work and arrange professional diagnosis when there is repeated fuse failure, melted wiring, brake-controller faults that return after repairs, extensive harness damage, ABS warning issues, or uncertainty about circuit modifications. Electrical faults can overlap with air brake, ABS, liftgate, and charging systems, particularly on specialized trailers.
For commercial operators, the practical decision is based on downtime and risk. A crew may lose more money tracing an intermittent fault for half a day than it would cost to have a technician identify and repair it correctly. Tilling’s Repair Centre Vars supports Ottawa-area trucks and trailers with shop and mobile repair service focused on getting equipment safely back to work.
Prevent the Next Electrical Failure
Electrical reliability is built during routine inspections, not at the roadside. Add connector condition, harness routing, lamp operation, brake wiring, and breakaway battery checks to pre-trip and scheduled maintenance routines. Clean and protect plugs before winter, secure loose wiring before it rubs through, and repair small damage before moisture reaches the copper.
A trailer that passes lights in the yard but loses a brake circuit under load is not ready for the road. Careful testing, sound repairs, and early escalation when the fault is more than a simple connection problem keep the trailer safe, the driver moving, and the schedule intact.