
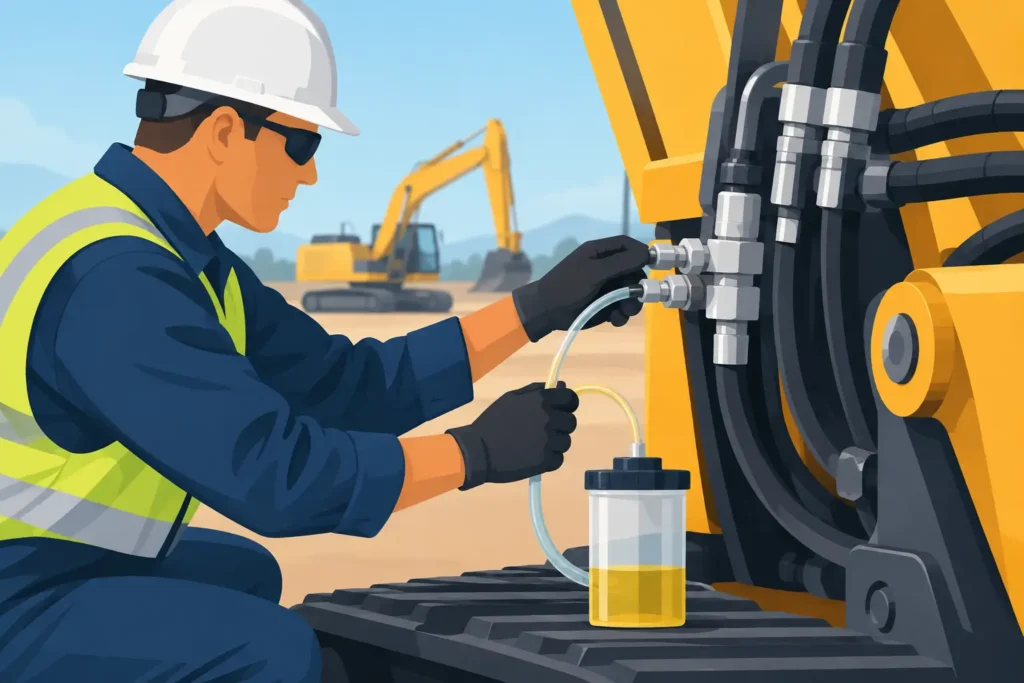
A hydraulic repair can look finished when the new hose is installed and the fittings are tight. But if air remains in the circuit, the machine may still run rough, respond slowly, or damage a pump before it gets back to work. Knowing when and how to bleed hydraulic lines helps protect the equipment your crew depends on and prevents a small repair from becoming lost production time.
Air is most often introduced after a hose replacement, cylinder repair, pump service, oil change, leak repair, or a hydraulic reservoir that has been allowed to run low. Excavators, loaders, dozers, skid steers, dump trucks, and trailers all use different hydraulic layouts, so the correct procedure depends on the machine and the circuit involved. The goal is consistent: refill the system with the specified fluid, remove trapped air safely, and verify smooth operation before putting the equipment under load.
Why Air in Hydraulic Lines Causes Problems
Hydraulic fluid does not compress easily. Air does. When air enters a system, it can make controls feel spongy, cause cylinder movement to jump or hesitate, and reduce the force available at a bucket, blade, lift gate, or steering circuit. Operators may hear whining, growling, or knocking from the pump as air moves through the system.
The bigger concern is pump damage. A hydraulic pump relies on a steady supply of clean oil for lubrication and cooling. If the suction side is leaking air or the reservoir is too low, the pump can cavitate. Cavitation creates tiny vapor bubbles that collapse under pressure, potentially pitting internal components and sending contamination through the system.
A machine that jerks once after a repair may simply need controlled cycling. A machine that continues to chatter, foam the oil, or lose hydraulic power has a problem that needs diagnosis. Bleeding the lines will not fix a split suction hose, blocked filter, failing pump, incorrect oil, or a leak at a fitting.
Safety Comes Before You Bleed Hydraulic Lines
Hydraulic systems store serious energy. A pinhole leak can inject fluid through skin, and a raised attachment can drop without warning if a circuit is opened or a component fails. Never loosen a pressurized fitting to “let air out” while the system is running. That approach is unsafe and can introduce more contamination than it removes.
Park on firm, level ground and lower the attachment fully. Set the parking brake, place controls in neutral, shut down the engine, and follow the manufacturer’s lockout and pressure-release procedure. On many machines, this includes moving the controls through their full range with the engine off to relieve trapped pressure. Do not rely on a control lever alone to support a boom, bucket, dump body, or loader arm. Use approved mechanical supports whenever work requires an attachment to be raised.
Wear eye protection and gloves rated for the work. Keep hands away from suspected leaks. Use cardboard or wood to check for a leak, never fingers or bare skin. If hydraulic fluid penetrates the skin, seek emergency medical attention immediately. It is a surgical emergency even when the injury appears minor.
Cleanliness matters just as much. Dirt introduced during hose work can score valves, damage pumps, and plug small passages. Clean the hose ends, fittings, reservoir cap area, and surrounding work zone before opening any part of the system.
How to Bleed Hydraulic Lines Correctly
The manufacturer’s service manual is the first authority for any specific machine. Some systems self-bleed through normal operation, while others have designated bleed screws, test ports, or procedures for a particular cylinder or attachment. If the repair involved hydrostatic drive, steering priority circuits, brake systems, or electronically controlled hydraulic functions, the process may require specialized tools or diagnostic steps.
1. Confirm the repair and fluid level
Before starting the machine, inspect every hose routing and fitting involved in the repair. Make sure the hose is not twisted, rubbing against a sharp edge, or stretched through the machine’s full range of movement. Confirm that fittings are properly tightened to specification. Overtightening can damage threads, seals, and flare surfaces.
Check the reservoir and add only the hydraulic fluid specified for that machine. Mixing fluids or using the wrong viscosity can create poor performance, seal problems, and cold-weather issues. Fill to the proper level, but do not overfill. Fluid level can rise as cylinders retract and the oil warms up.
2. Start at low speed and watch the system
Start the engine at idle unless the manufacturer directs otherwise. Do not immediately run the machine at high rpm or demand full hydraulic power. Listen for pump noise and watch the reservoir, sight glass, or level indicator where accessible. Foamy or milky-looking oil can indicate aeration.
Let the machine run briefly, then recheck the reservoir level. A newly installed hose or repaired cylinder may take fluid as it fills. Shut the machine down and top off the reservoir if necessary before continuing.
3. Cycle the affected function slowly
With the area clear, move the repaired hydraulic function slowly through part of its travel. For a boom, loader arm, bucket, blade, outrigger, tailgate, or cylinder, avoid slamming it against the end of its stroke. Pause, reverse direction, and repeat. Gradual movement allows air to return to the reservoir without forcing the system into shock pressure.
Continue cycling until movement becomes smooth and consistent. A cylinder that was opened for resealing may need several controlled cycles before it performs normally. Keep checking the oil level during this process. If the reservoir drops too low, the system can pull in more air and restart the problem.
For a function with a manufacturer-approved bleed point, use that procedure only after pressure has been relieved as required. A technician may open the bleed point slightly while cycling the system at the specified condition, then close it when fluid flows without bubbles. The correct location and sequence matter. Guessing can create a high-pressure hazard.
4. Inspect for leaks and confirm normal operation
After cycling, inspect fittings, hose crimps, adapters, cylinder ports, and the pump area. Look for wetness, drips, rubbed hose cover, or a fitting that has backed off. Then operate the function under a light working load and listen again for unusual noise.
The repair is not complete until the machine responds smoothly, the fluid level is stable at the correct temperature and position, and there are no active leaks. Record the repair and the fluid added for fleet maintenance records, especially when the machine is rented, shared between crews, or due for an inspection.
Signs the System Still Has Air
Some symptoms point to remaining air, while others point to a fault that needs further diagnosis. Continued whining from the pump, frothy reservoir oil, erratic cylinder movement, slow response, or a steering system that feels inconsistent should not be ignored.
If symptoms continue after careful cycling, shut the machine down. Check the suction side of the system first. Loose clamps, cracked suction hoses, damaged O-rings, a restricted suction strainer, or a low reservoir can allow air into the oil without always showing an external fluid leak. On older equipment, hardened seals and damaged hose ends are common sources of repeated aeration.
Also consider the work that was done. A hose installed on the wrong port, a quick coupler not fully seated, or a cylinder assembled incorrectly can look like an air problem at first. When a machine will not clear up quickly, further operation can turn a repairable issue into pump, valve, or cylinder damage.
When to Call for Hydraulic Repair
Bleeding is reasonable for a straightforward hose replacement when the correct procedure is known and the equipment is operating normally afterward. It is not the right place to experiment when a system is noisy, overheats, loses pressure, repeatedly foams oil, or has a suspected suction-side leak.
Heavy equipment hydraulic systems can be difficult to diagnose because the visible symptom may be far from the source. A slow loader may have a pump supply issue. A drifting excavator attachment may involve a cylinder, valve spool, pilot circuit, or internal leakage. Fast diagnosis protects both the schedule and the repair budget.
Tilling’s Repair Centre Vars provides hydraulic repair, hose fabrication, and heavy equipment service for working fleets in the Ottawa area. Whether the issue is a failed hose on site or a machine that needs deeper testing, getting the right repair completed promptly helps keep crews productive and equipment available.
A hydraulic system should feel controlled, quiet, and predictable. If it does not, take the machine out of demanding work, address the cause, and return it to service only when the repair has been properly verified.