A trailer problem rarely starts as a roadside problem. It starts as a loose connection, a worn bushing, a small air leak, or a tire that has been running low for weeks. This heavy trailer preventative maintenance guide is built for fleet operators, contractors, and haulers who need equipment ready when the job is waiting. A few planned checks can prevent a missed delivery, a failed inspection, or an expensive recovery call.
Preventative maintenance is not about taking a trailer out of service for no reason. It is about finding small problems while repairs are planned, parts are available, and your crew can keep working.
Build a Heavy Trailer Preventative Maintenance Plan Around Use
There is no single maintenance interval that fits every trailer. A dump trailer on rough construction access roads, a lowboy carrying equipment, and an enclosed trailer making highway runs all wear differently. Hours, load weight, road conditions, weather, and how often drivers connect and disconnect the unit should guide the schedule.
Start with three levels of inspection. Drivers should complete a walk-around before each trip. Your shop or maintenance lead should perform a more detailed inspection at regular mileage, hour, or calendar intervals. Finally, schedule a full service before required commercial inspections and ahead of heavy seasonal use.
The goal is consistency. If a trailer runs every day, waiting until a problem is obvious is usually too late. For trailers used occasionally, calendar-based inspections matter just as much as mileage. Parked equipment can still develop tire damage, corrosion, seized brakes, low battery voltage, and moisture-related electrical issues.
Keep service records for every unit. Record the date, trailer number, findings, work completed, and parts replaced. Good records help spot recurring failures and make it easier to plan repairs before a busy stretch of hauling or site work.
Start Every Shift With a Walk-Around
A proper pre-trip does not need to be complicated, but it needs to be deliberate. Walk around the trailer in the same order every time so nothing gets missed. Look underneath as well as around the exterior. Fresh grease, oil, brake dust, hanging wires, or an air line rubbing against the frame are warning signs worth addressing.
Check the trailer’s overall stance. A trailer leaning to one side can point to a flat tire, suspension damage, a broken spring, or an issue with an air suspension component. Look for cracked welds around ramps, crossmembers, landing gear, tie-down points, and the kingpin area. On dump trailers, inspect the hoist mounting points, hinge area, and body props before operating the box.
Drivers should also confirm that lights, reflectors, conspicuity tape, mud flaps, safety chains, and load securement equipment are in working condition. These items are quick to inspect and are often the first things noticed during a roadside check.
Keep Brakes and Air Systems at the Top of the List
Brake problems turn into safety problems fast. Check brake adjustment, lining condition, drums or rotors, chambers, slack adjusters, and air lines at the service interval recommended for the trailer and its use. If the trailer pulls, brakes unevenly, takes longer to stop, or shows excessive heat at one wheel end, pull it from service until the cause is identified.
Listen for air leaks after the trailer is connected and charged. Inspect hoses for cracking, chafing, loose fittings, and contamination. A damaged gladhand seal is inexpensive to replace, but it can delay a truck, leave a trailer without proper air pressure, and create a frustrating roadside issue.
ABS warning lights also deserve attention. An intermittent sensor fault may not stop the trailer from moving, but it can reduce braking protection when roads are wet, icy, or covered in loose aggregate. Check sensor wiring near the axle, especially where it is exposed to debris, vibration, and winter road treatment.
Do not treat brake work as a place to cut corners. Correct parts, proper adjustment, and a complete inspection of related components matter more than simply replacing the visibly worn piece.
Inspect Tires, Wheels, and Hubs Before They Cost You a Day
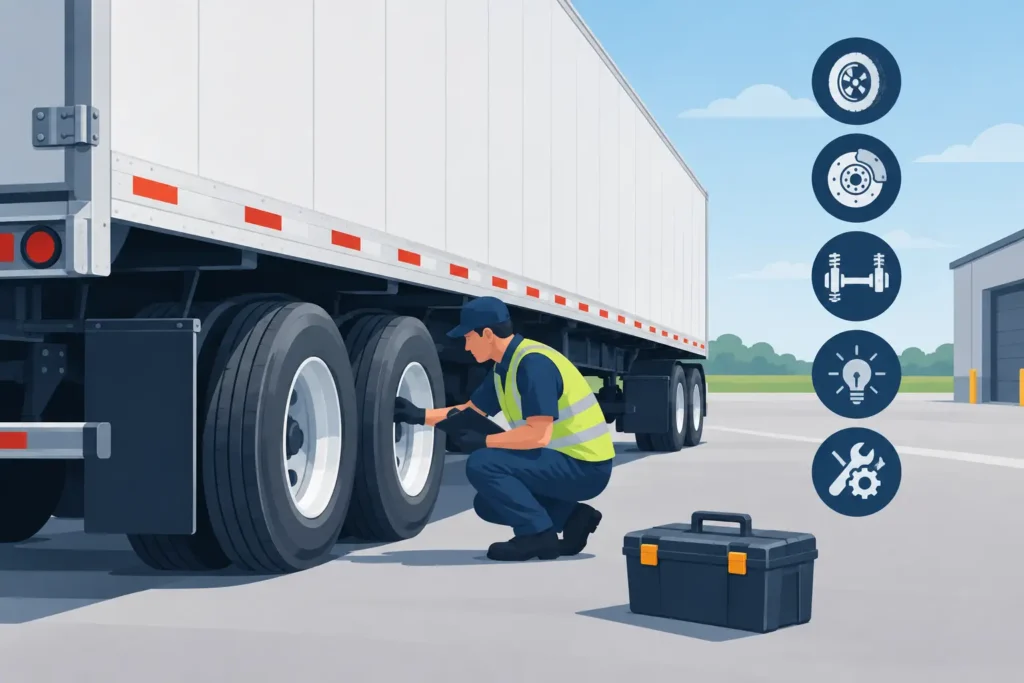
Tires take the impact from curbs, potholes, jobsite debris, overloaded runs, and long highway miles. Check tire pressure when tires are cold and compare it against the trailer manufacturer’s requirements and the load being carried. Underinflation builds heat and damages tire structure. Overinflation can reduce the contact patch and increase uneven wear.
Look for cuts, bulges, exposed cords, sidewall damage, embedded objects, and irregular tread wear. Wear concentrated on one edge often points to alignment, axle, suspension, or bearing concerns. Replacing the tire without correcting the cause only delays the next failure.
Inspect wheel studs, lug nuts, rims, and hub seals at the same time. A leaking hub seal, loose wheel hardware, or bearing noise should be addressed immediately. Grease or oil on brake components can reduce braking performance and create a larger repair than a seal replacement would have been.
For fleets running mixed trailer types, make tire checks part of the same daily process across every unit. A simple standard makes it easier for drivers to report defects and for managers to track them.
Check Suspension, Axles, and the Connection Points
Suspension components carry every shock from the road and jobsite. Inspect leaf springs, hangers, equalizers, bushings, air bags, shock absorbers, torque rods, and axle mounting hardware for damage or movement. Rust is common on working trailers, but deep corrosion around structural mounts, cracks, and elongated bolt holes need professional attention.
For air-ride trailers, inspect the air bags for cracking and rubbing. Confirm the ride-height system is functioning correctly. A trailer riding too high or too low can affect handling, tire wear, and driveline angles on the truck-trailer combination.
At the front of the trailer, inspect the kingpin, fifth-wheel contact area, landing gear, crank mechanism, and frame structure. Make sure the coupling surfaces are clean and properly lubricated where required. On bumper-pull and equipment trailers, inspect the coupler, ball or pintle connection, safety chains, breakaway system, and jack for wear or damage.
Connection-point failures are often preventable. Most begin with poor lubrication, skipped inspections, or damage that was visible long before the component failed.
Do Not Let Electrical and Body Damage Build Up
Electrical problems can be time-consuming because vibration, moisture, and corroded connectors can create intermittent faults. Inspect the main plug, junction box, wiring harnesses, light housings, and ground connections. Secure loose wiring before it rubs through on a frame edge or gets caught during loading.
Trailer body condition matters too. Check floors, ramp hinges, latches, doors, tarp systems, and tie-down points. A soft spot in a deck or a bent ramp may not stop a trailer from moving, but it can make loading equipment unsafe. On dump bodies, clear material buildup that can trap moisture and add unnecessary weight.
Hydraulic trailers and dump units need added attention. Check fluid level, cylinder rods, hose routing, fittings, and pump operation. A small hydraulic leak can quickly contaminate a work area, damage other components, and leave a loaded trailer unable to unload.
Use Service Intervals That Fit Your Fleet
A maintenance plan works best when responsibilities are clear. Drivers report defects during pre-trip checks. Fleet managers review open issues and schedule repairs. Technicians complete inspections that go beyond what can be seen in a walk-around.
Use a written checklist for detailed services. It should cover brake components, wheel ends, suspension, coupling equipment, lights, wiring, frame condition, and any trailer-specific systems such as hydraulics or refrigeration. The checklist creates accountability and helps ensure one technician’s inspection is consistent with the next.
Pay close attention after demanding work. A trailer that has carried repeated heavy loads, spent weeks on rough access roads, or been exposed to freeze-thaw conditions may need service sooner than its normal interval. Maintenance schedules should respond to how the equipment is actually used, not just what the calendar says.
When a defect is beyond a quick adjustment, get it diagnosed before it grows. Tilling’s Repair Centre Vars supports commercial operators with trailer repair, diagnostics, safety inspections, and practical service focused on reducing downtime.
The best time to repair a trailer is when it is parked in your yard by choice, not when it is sitting loaded on the shoulder. Build the checks into the workday, act on the small warning signs, and give your crews equipment they can rely on when the next load has to move.